
14 Days Replacement

4 To 5 Working Days

In Stock

CASH ON DELIVERY

Online Support 24/7

Fast Shipping & Return

Secure Payment
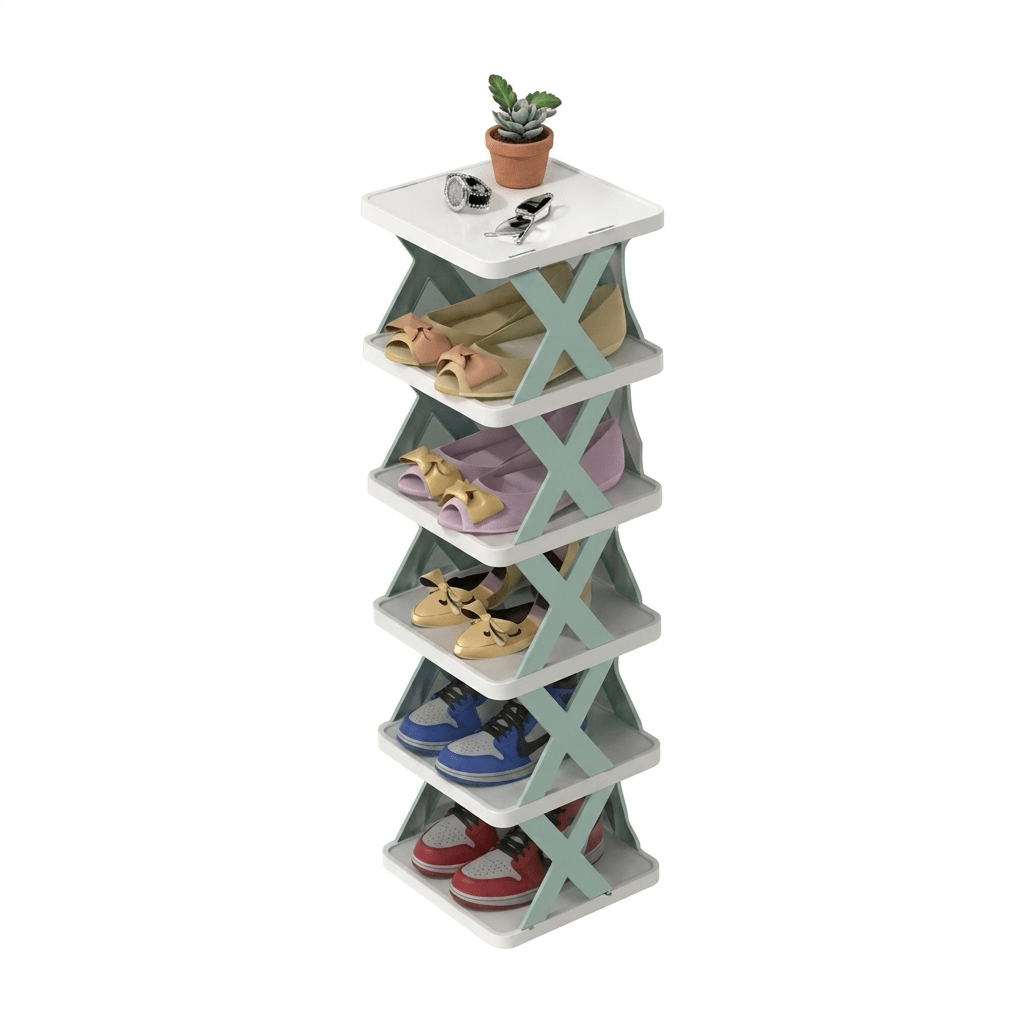
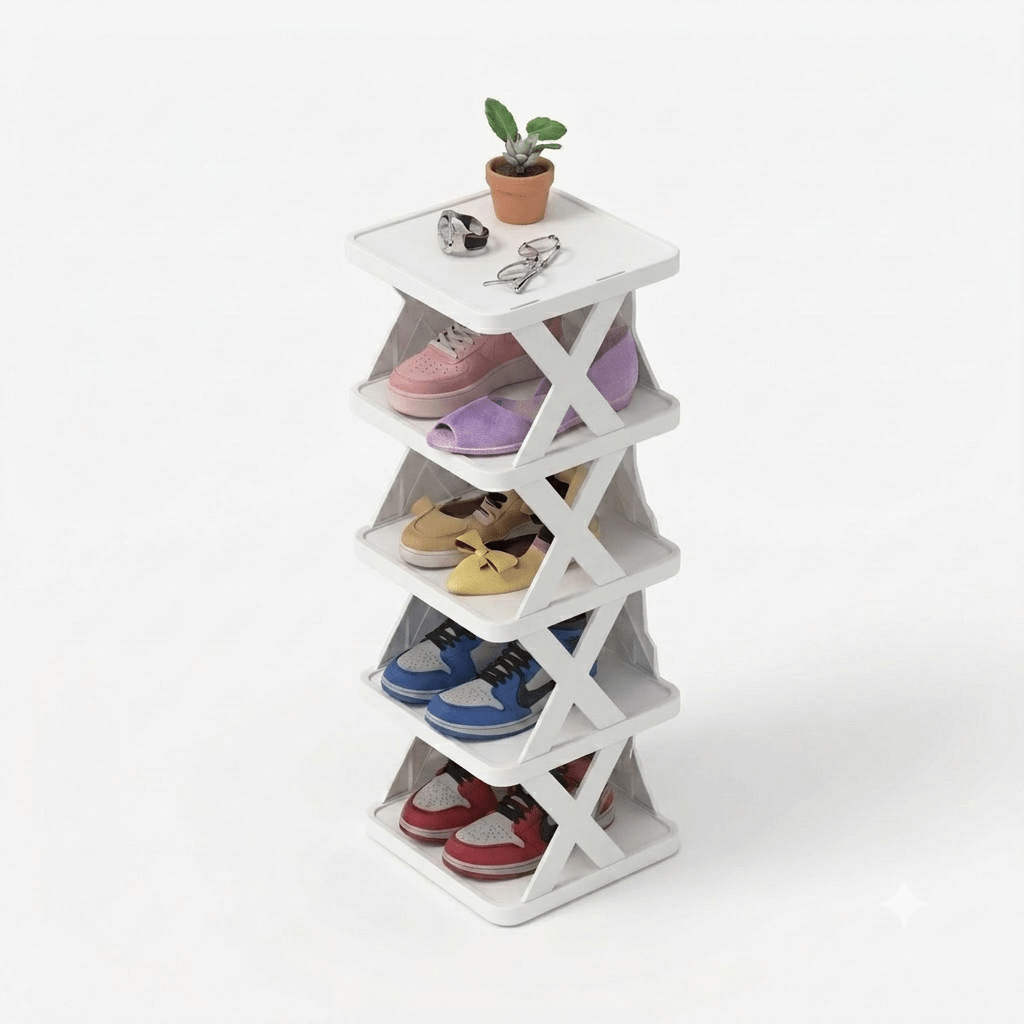
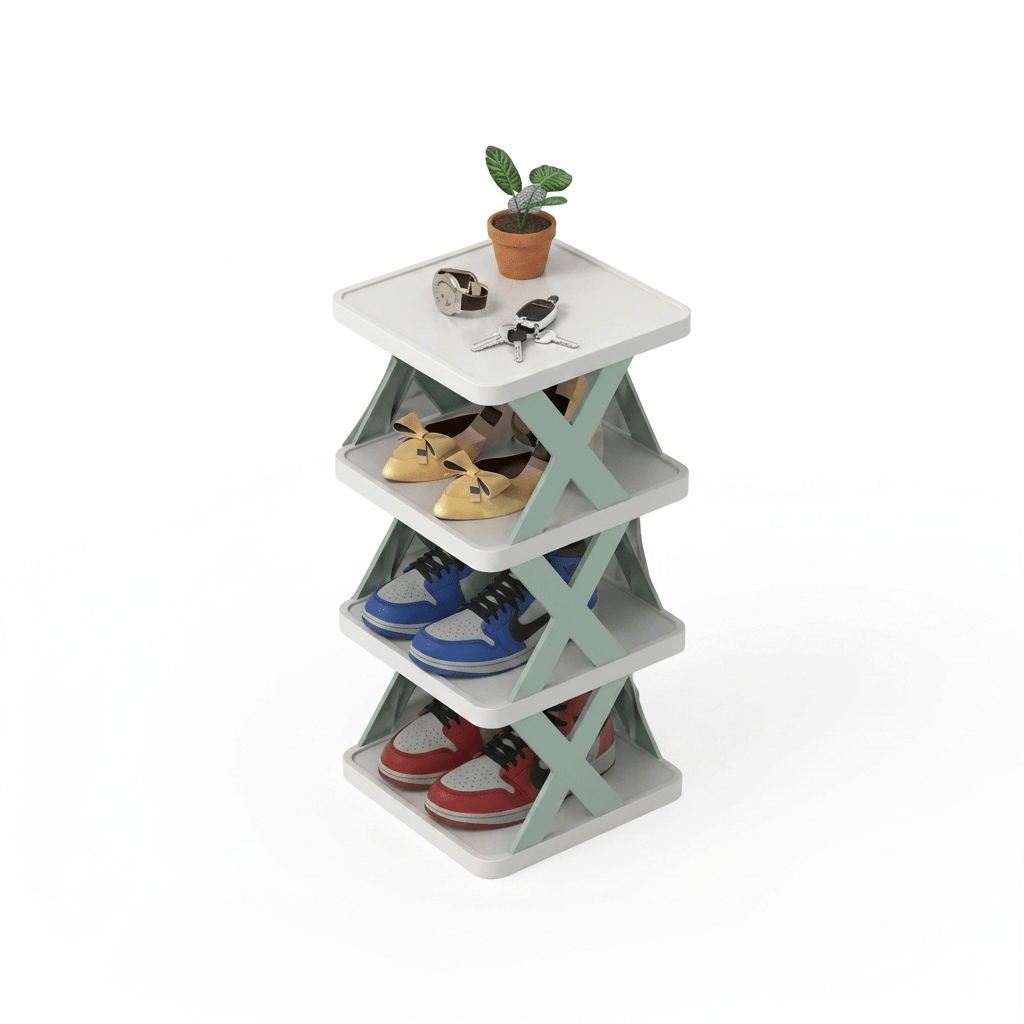
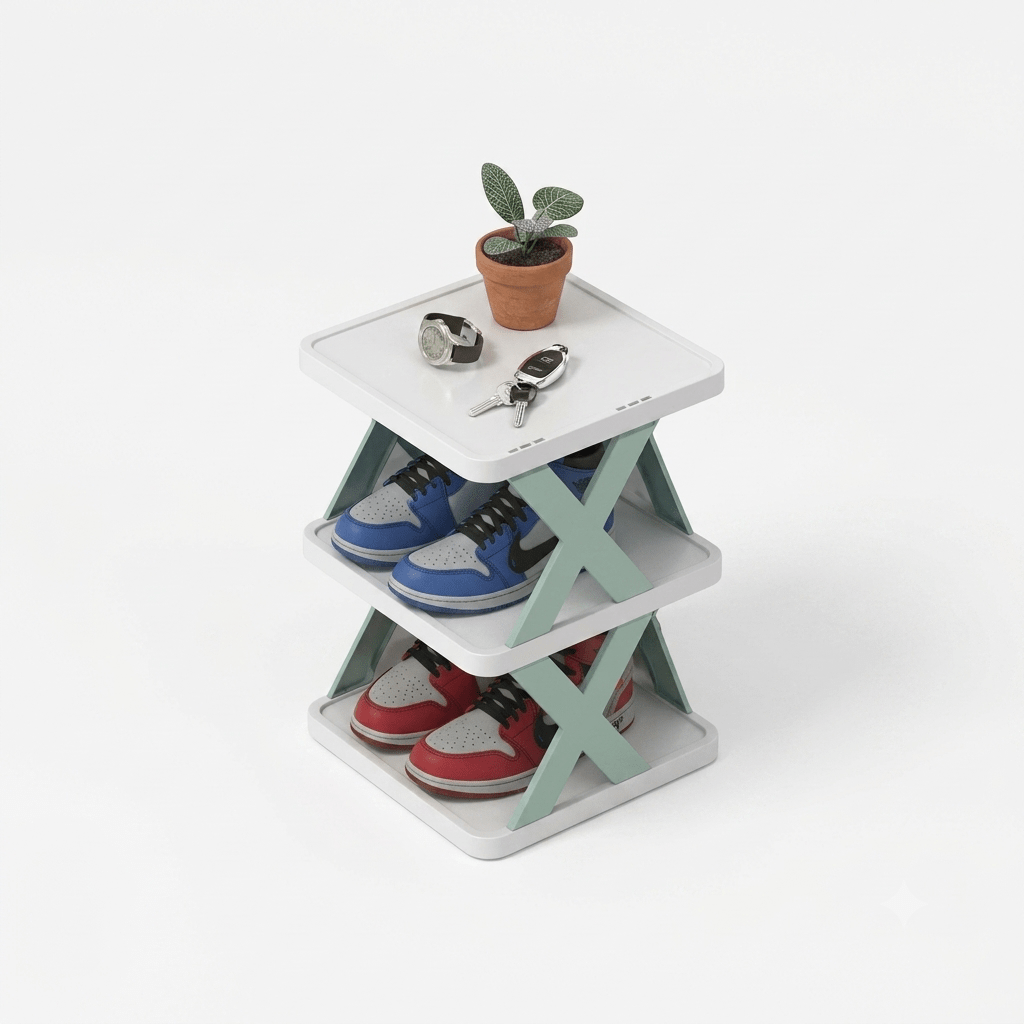
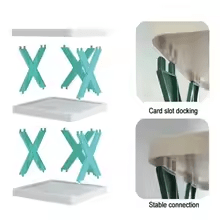
The shoe rack features a modular, snap-together design.
Step 1: Place a shelf panel on a flat surface to serve as the base.
Step 2: Attach the “X”-shaped support frames onto the base.
Step 3: Align the next shelf panel with the supports and press down to lock it into place using the “card slot docking” system, which creates a stable connection.
Step 4: Repeat this stacking process for as many tiers as desired.
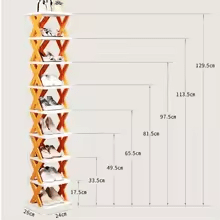
Design & Dimensions: The rack is a vertical, multi-tier storage unit. It measures 26cm in depth and 24cm in width. Its total height increases incrementally with each tier added, reaching up to 129.5cm at the highest level.
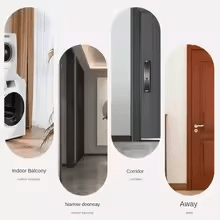
Versatile Placement: Due to its slim and vertical design, it is suitable for various spaces in the home, including:
Indoor Balcony: Fits neatly alongside appliances like a washing machine.
Narrow Doorways: Its compact footprint makes it ideal for tight entryway spaces.
Corridors: Can be placed in hallways without obstructing the path.
General Living Areas: Can be positioned near doors or any corner to keep shoes organized.


Reviews
There are no reviews yet.